

How To: Craft Paper Poppies From Trash and Recycling
You've got it! Here is another installment from the junk-mail paper flowers series.

Hi hi! Here’s the third installment of the trash & junk mail paper flowers tutorials! This time, it's a very simple poppy that comes together pretty quickly. Previous how-tos in this series can be found here and here! Happy crafting!
Poppies come in many colors, including red, orange, yellow, pink, white, and purple, with shades like deep berry, soft pink, cream, and even blue in some varieties. So, go ahead, follow your imagination, and choose whatever color you like!
TOOLS & SUPPLIES:
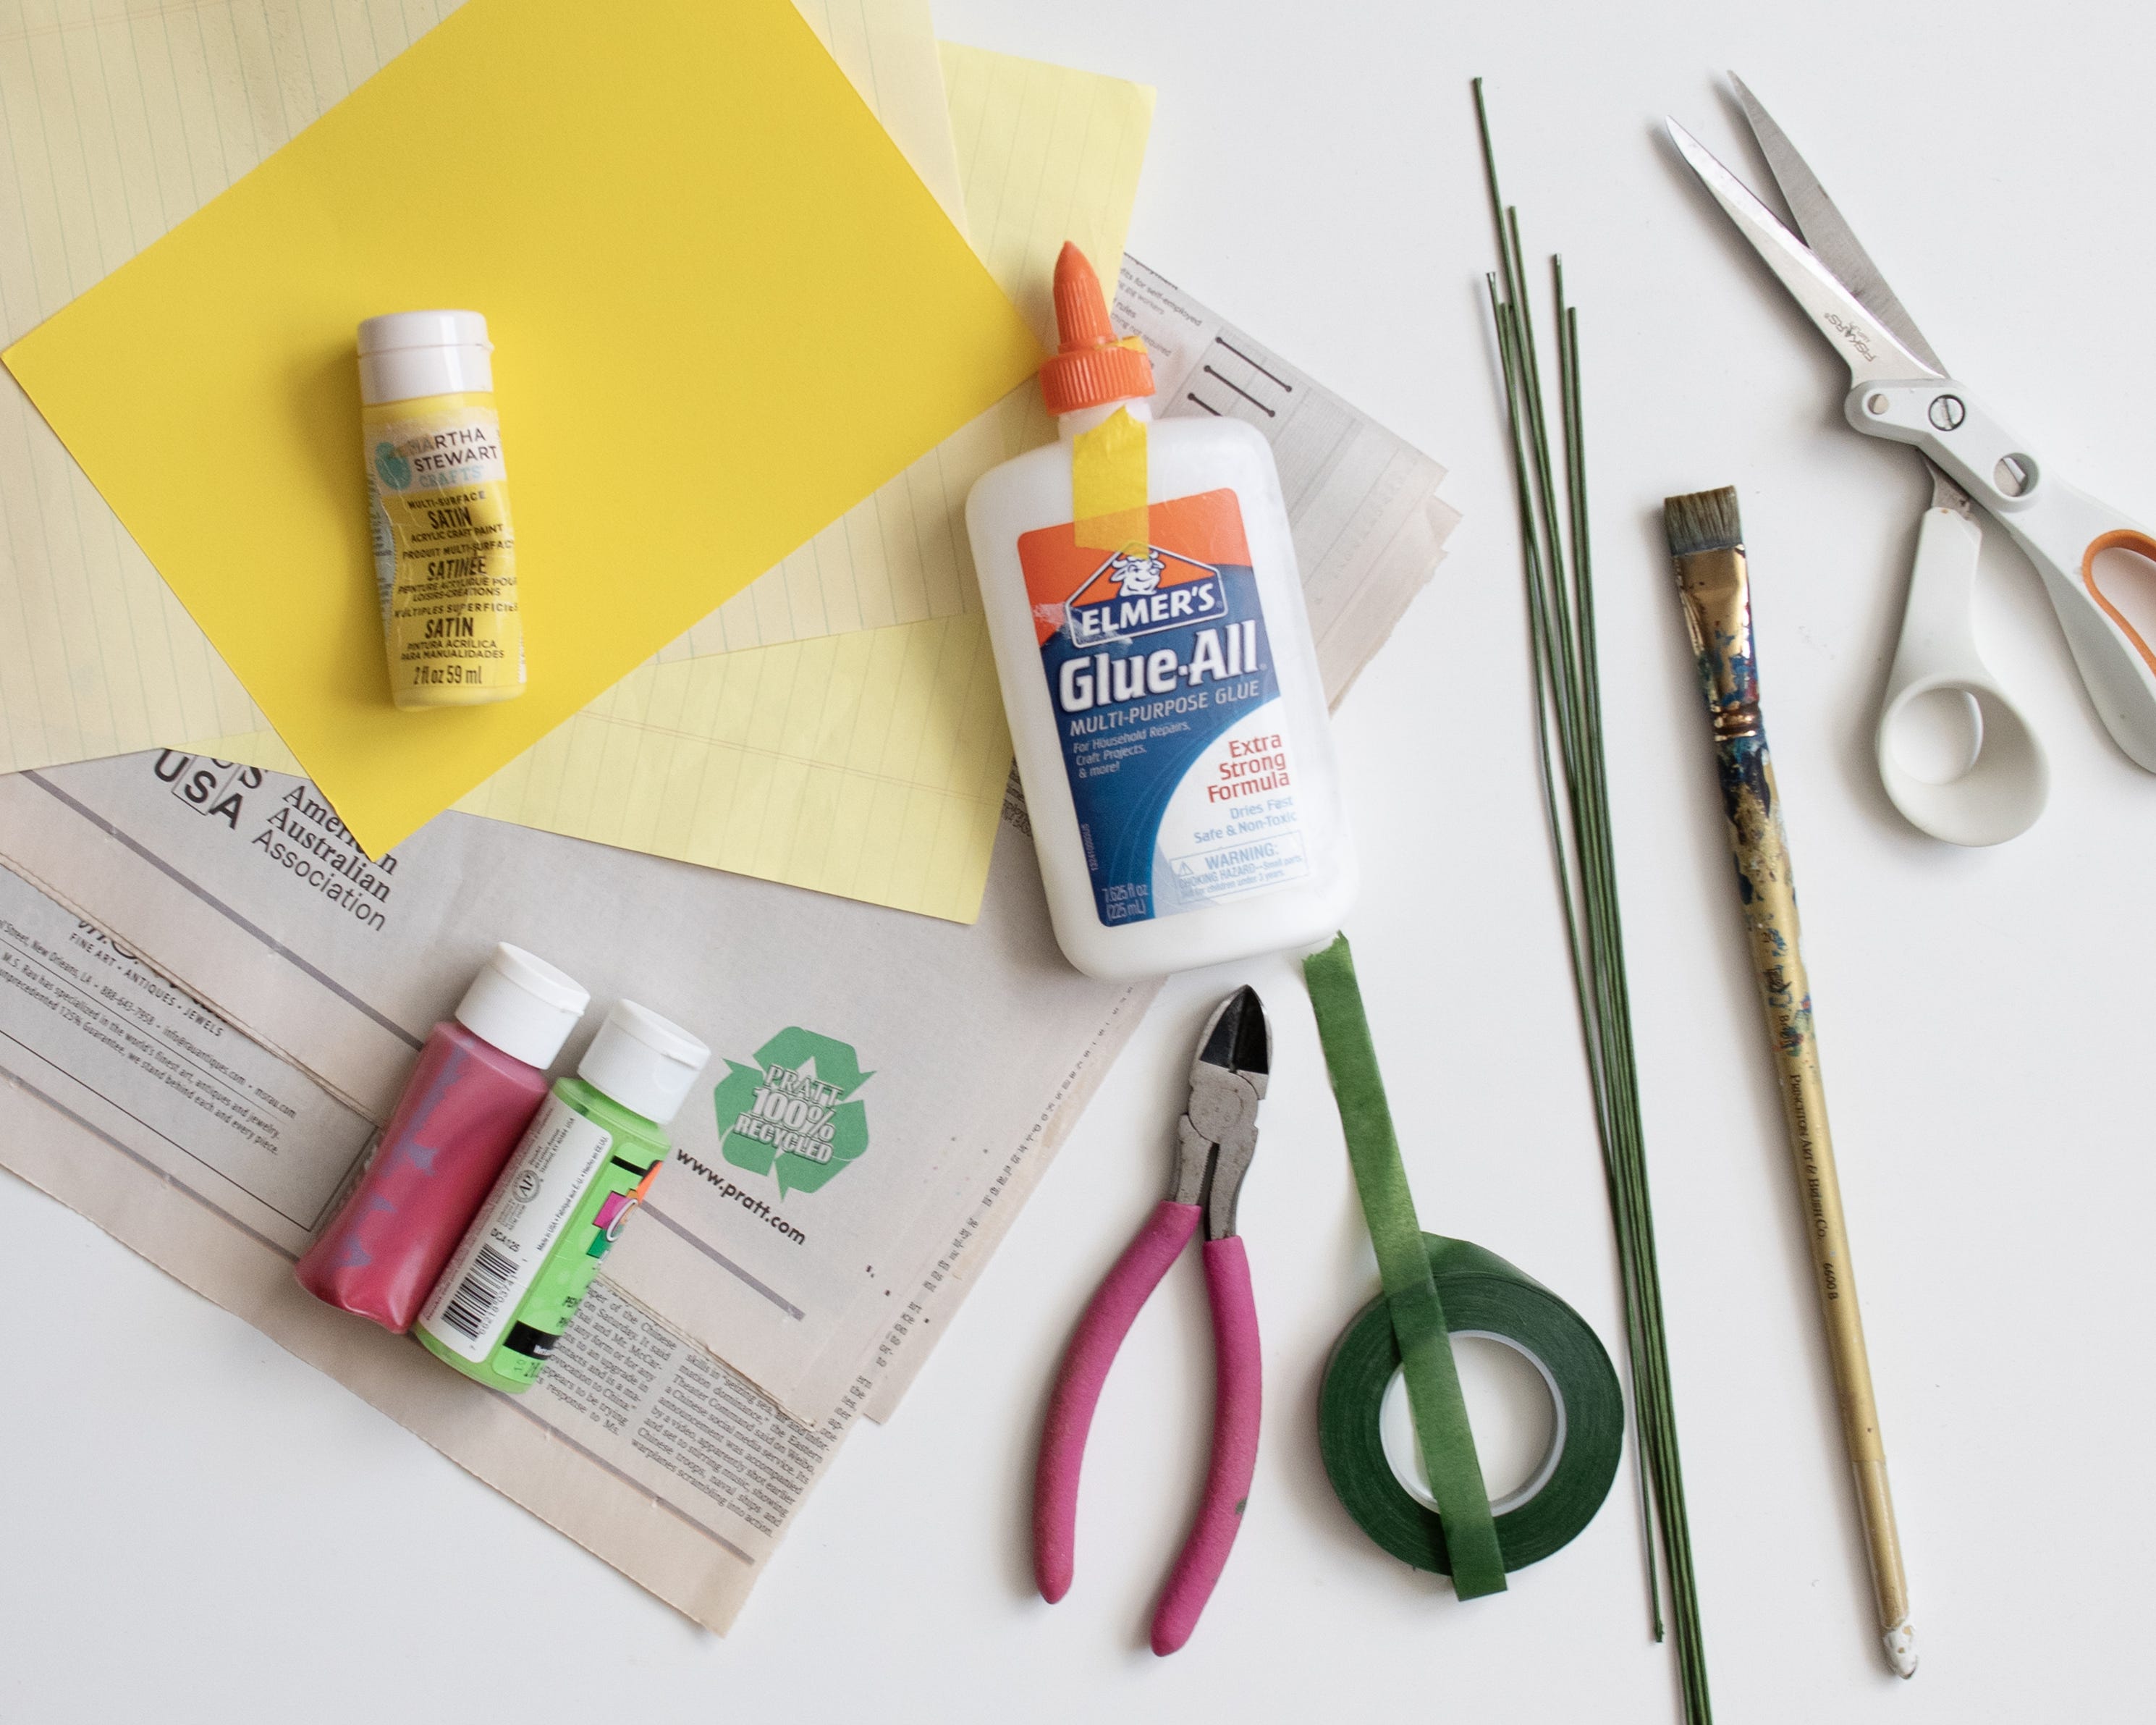
Paper: I gathered newspaper and yellow paper (I had lined yellow notebook paper that worked the best).
Painting supplies: brushes, pink, bright green, and yellow acrylic paint if you don’t have yellow paper
18-gauge straight floral wire; I prefer the type wrapped in green paper
PVA glue, such as Elmer’s or similar
Floral tape
STEP 1: Paint Paper
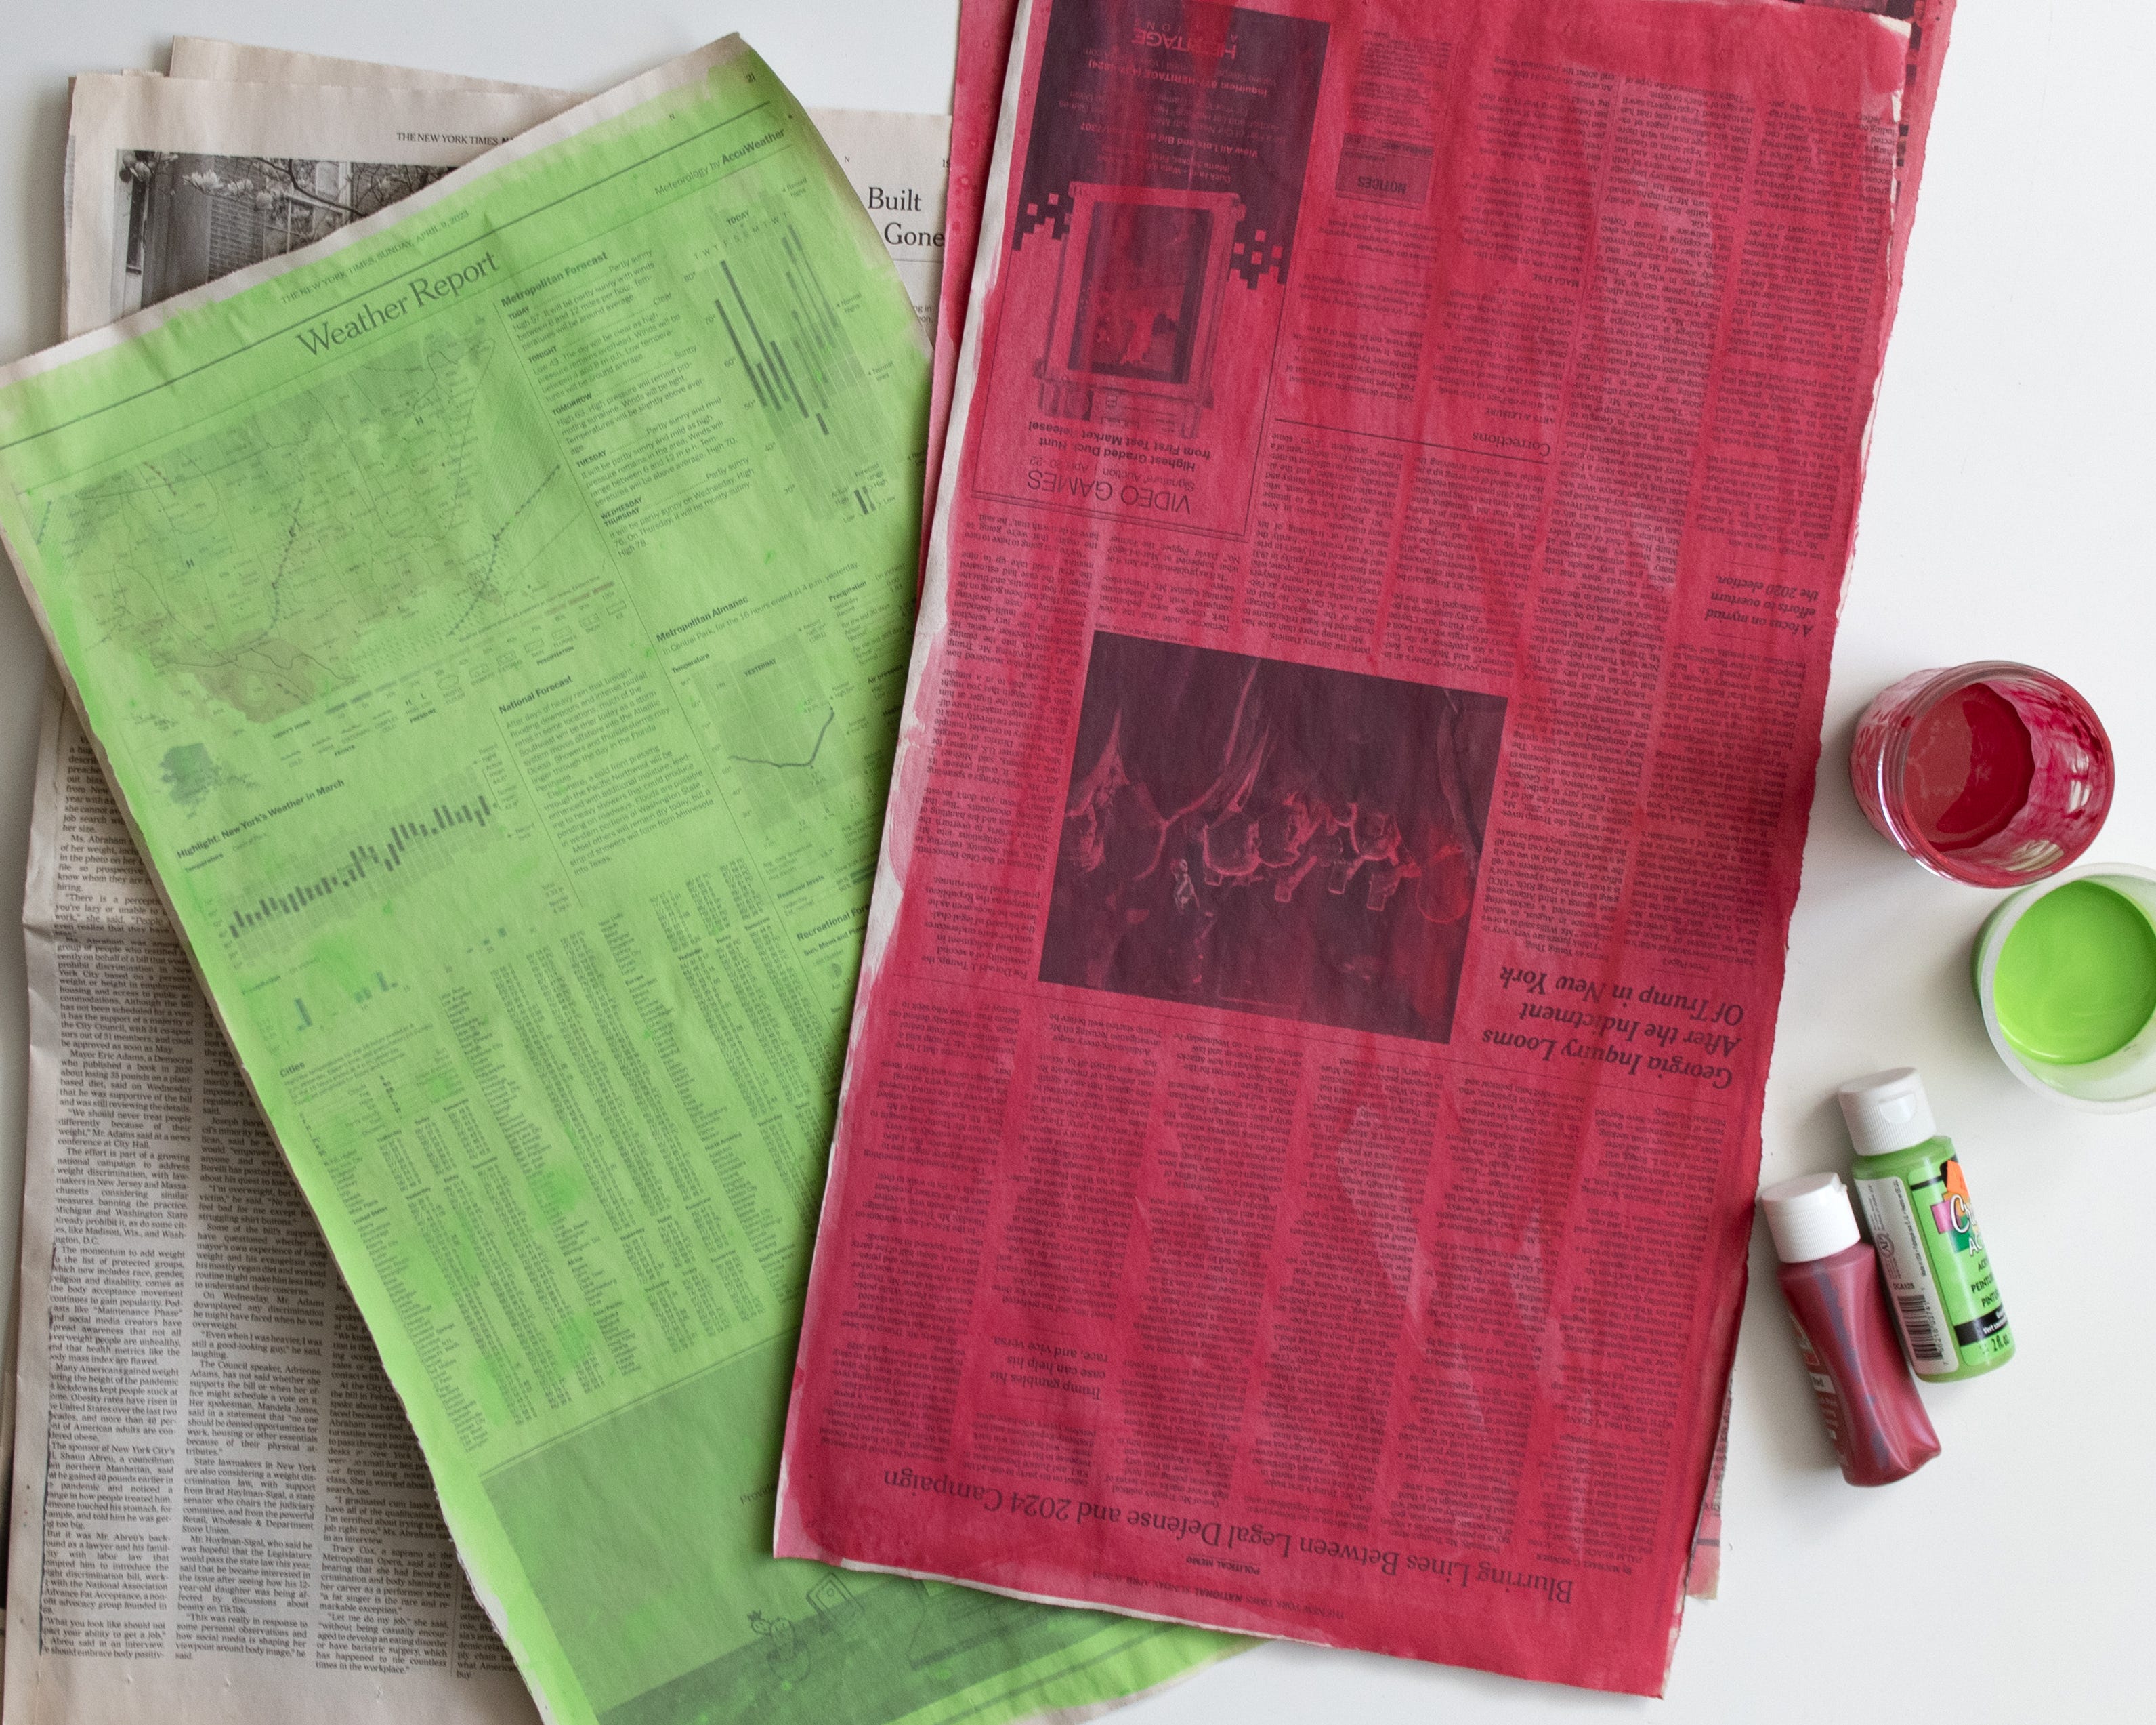
Dilute acrylic paint with water before painting your newspaper. Paint the pink on both sides, letting the first side dry before moving to the back. Repeat the process with the yellow if needed. The green can be painted on just one side. I like the look of seeing the newspaper’s text through the paint, but choose the thickness and opacity you prefer.
STEP 2: Create the Green Center

Cut green squares approximately 6" x 6”. Crumple and uncrumple them a few times to create a softer, textured look. Cut or tear scrap newspaper into about 8" x 8" pieces to form a small 1” ball of paper to wrap the green around. Place it at the end of the wire and secure it with floral tape.
STEP 3: Create the Yellow Stamen
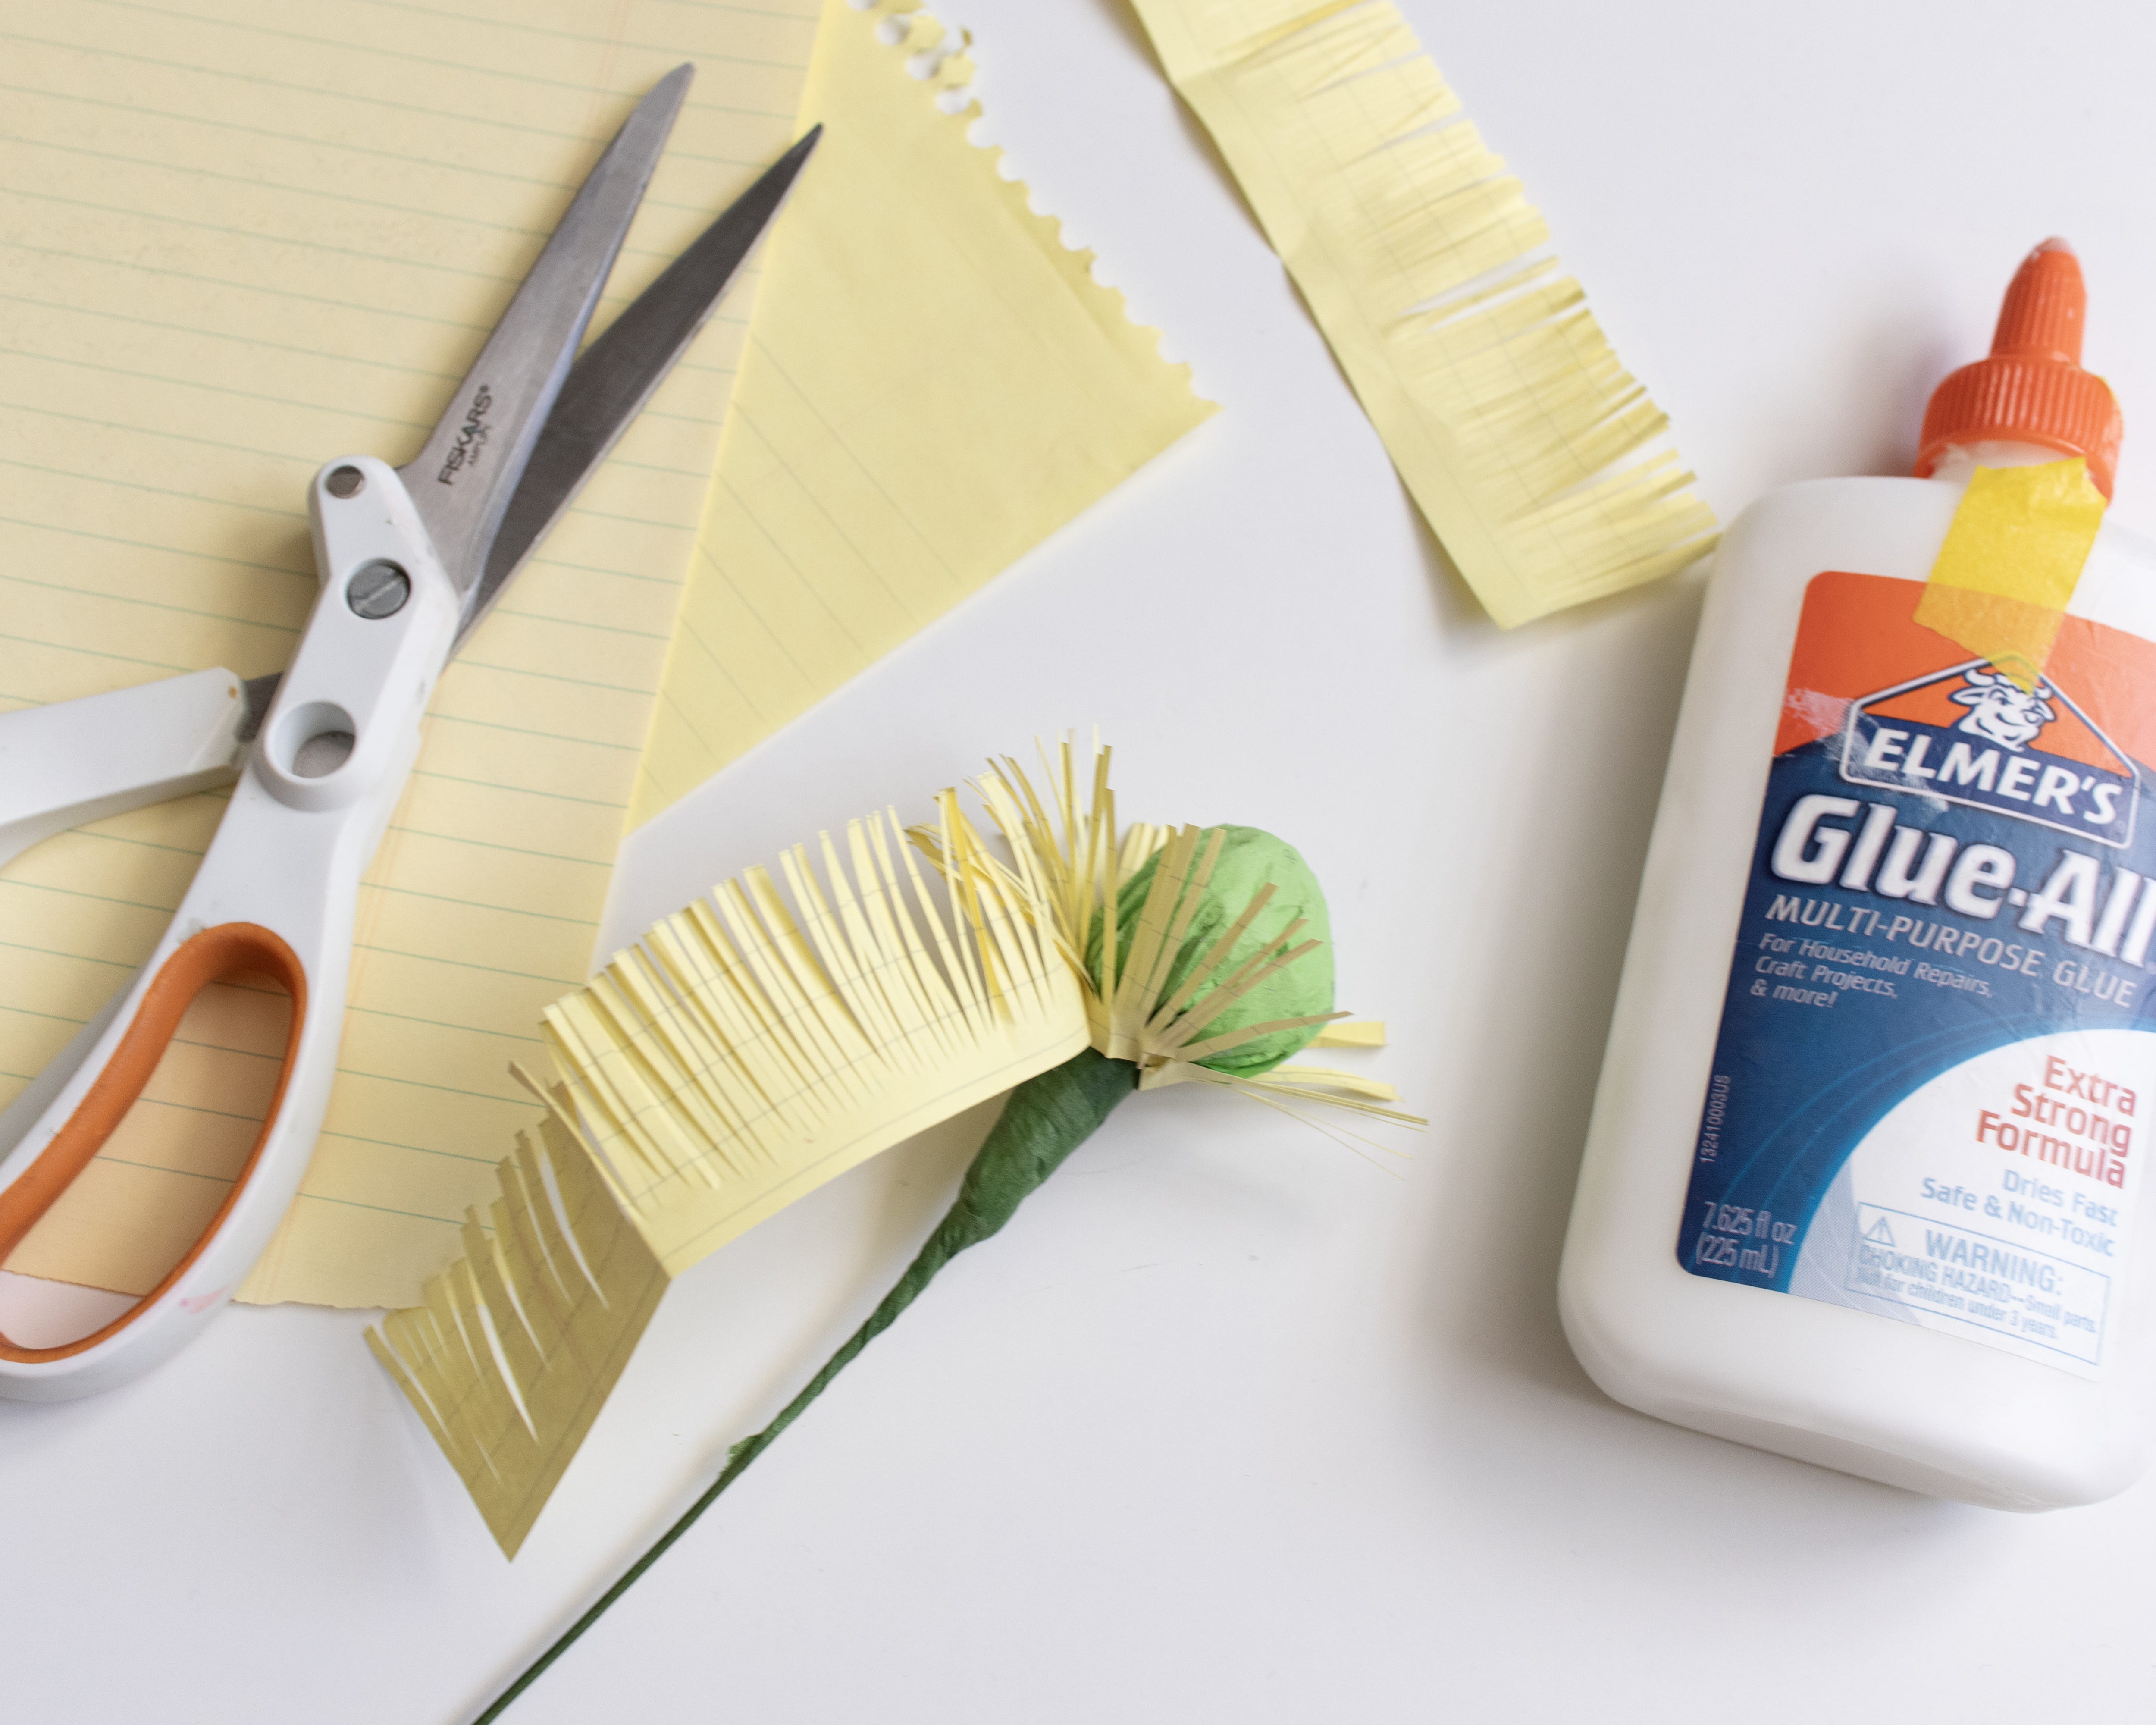
Cut a strip of yellow paper approximately 9” x 1.5”. Fold it in half a few times to make cutting the fringe easier. Make small narrow cuts side by side to fill the length, being careful not to cut through the entire width of the paper. Using PVA glue, adhere the fringe around the green center, pinching the yellow paper when necessary to help it conform to the curve.
STEP 4: Cut and Add Petals
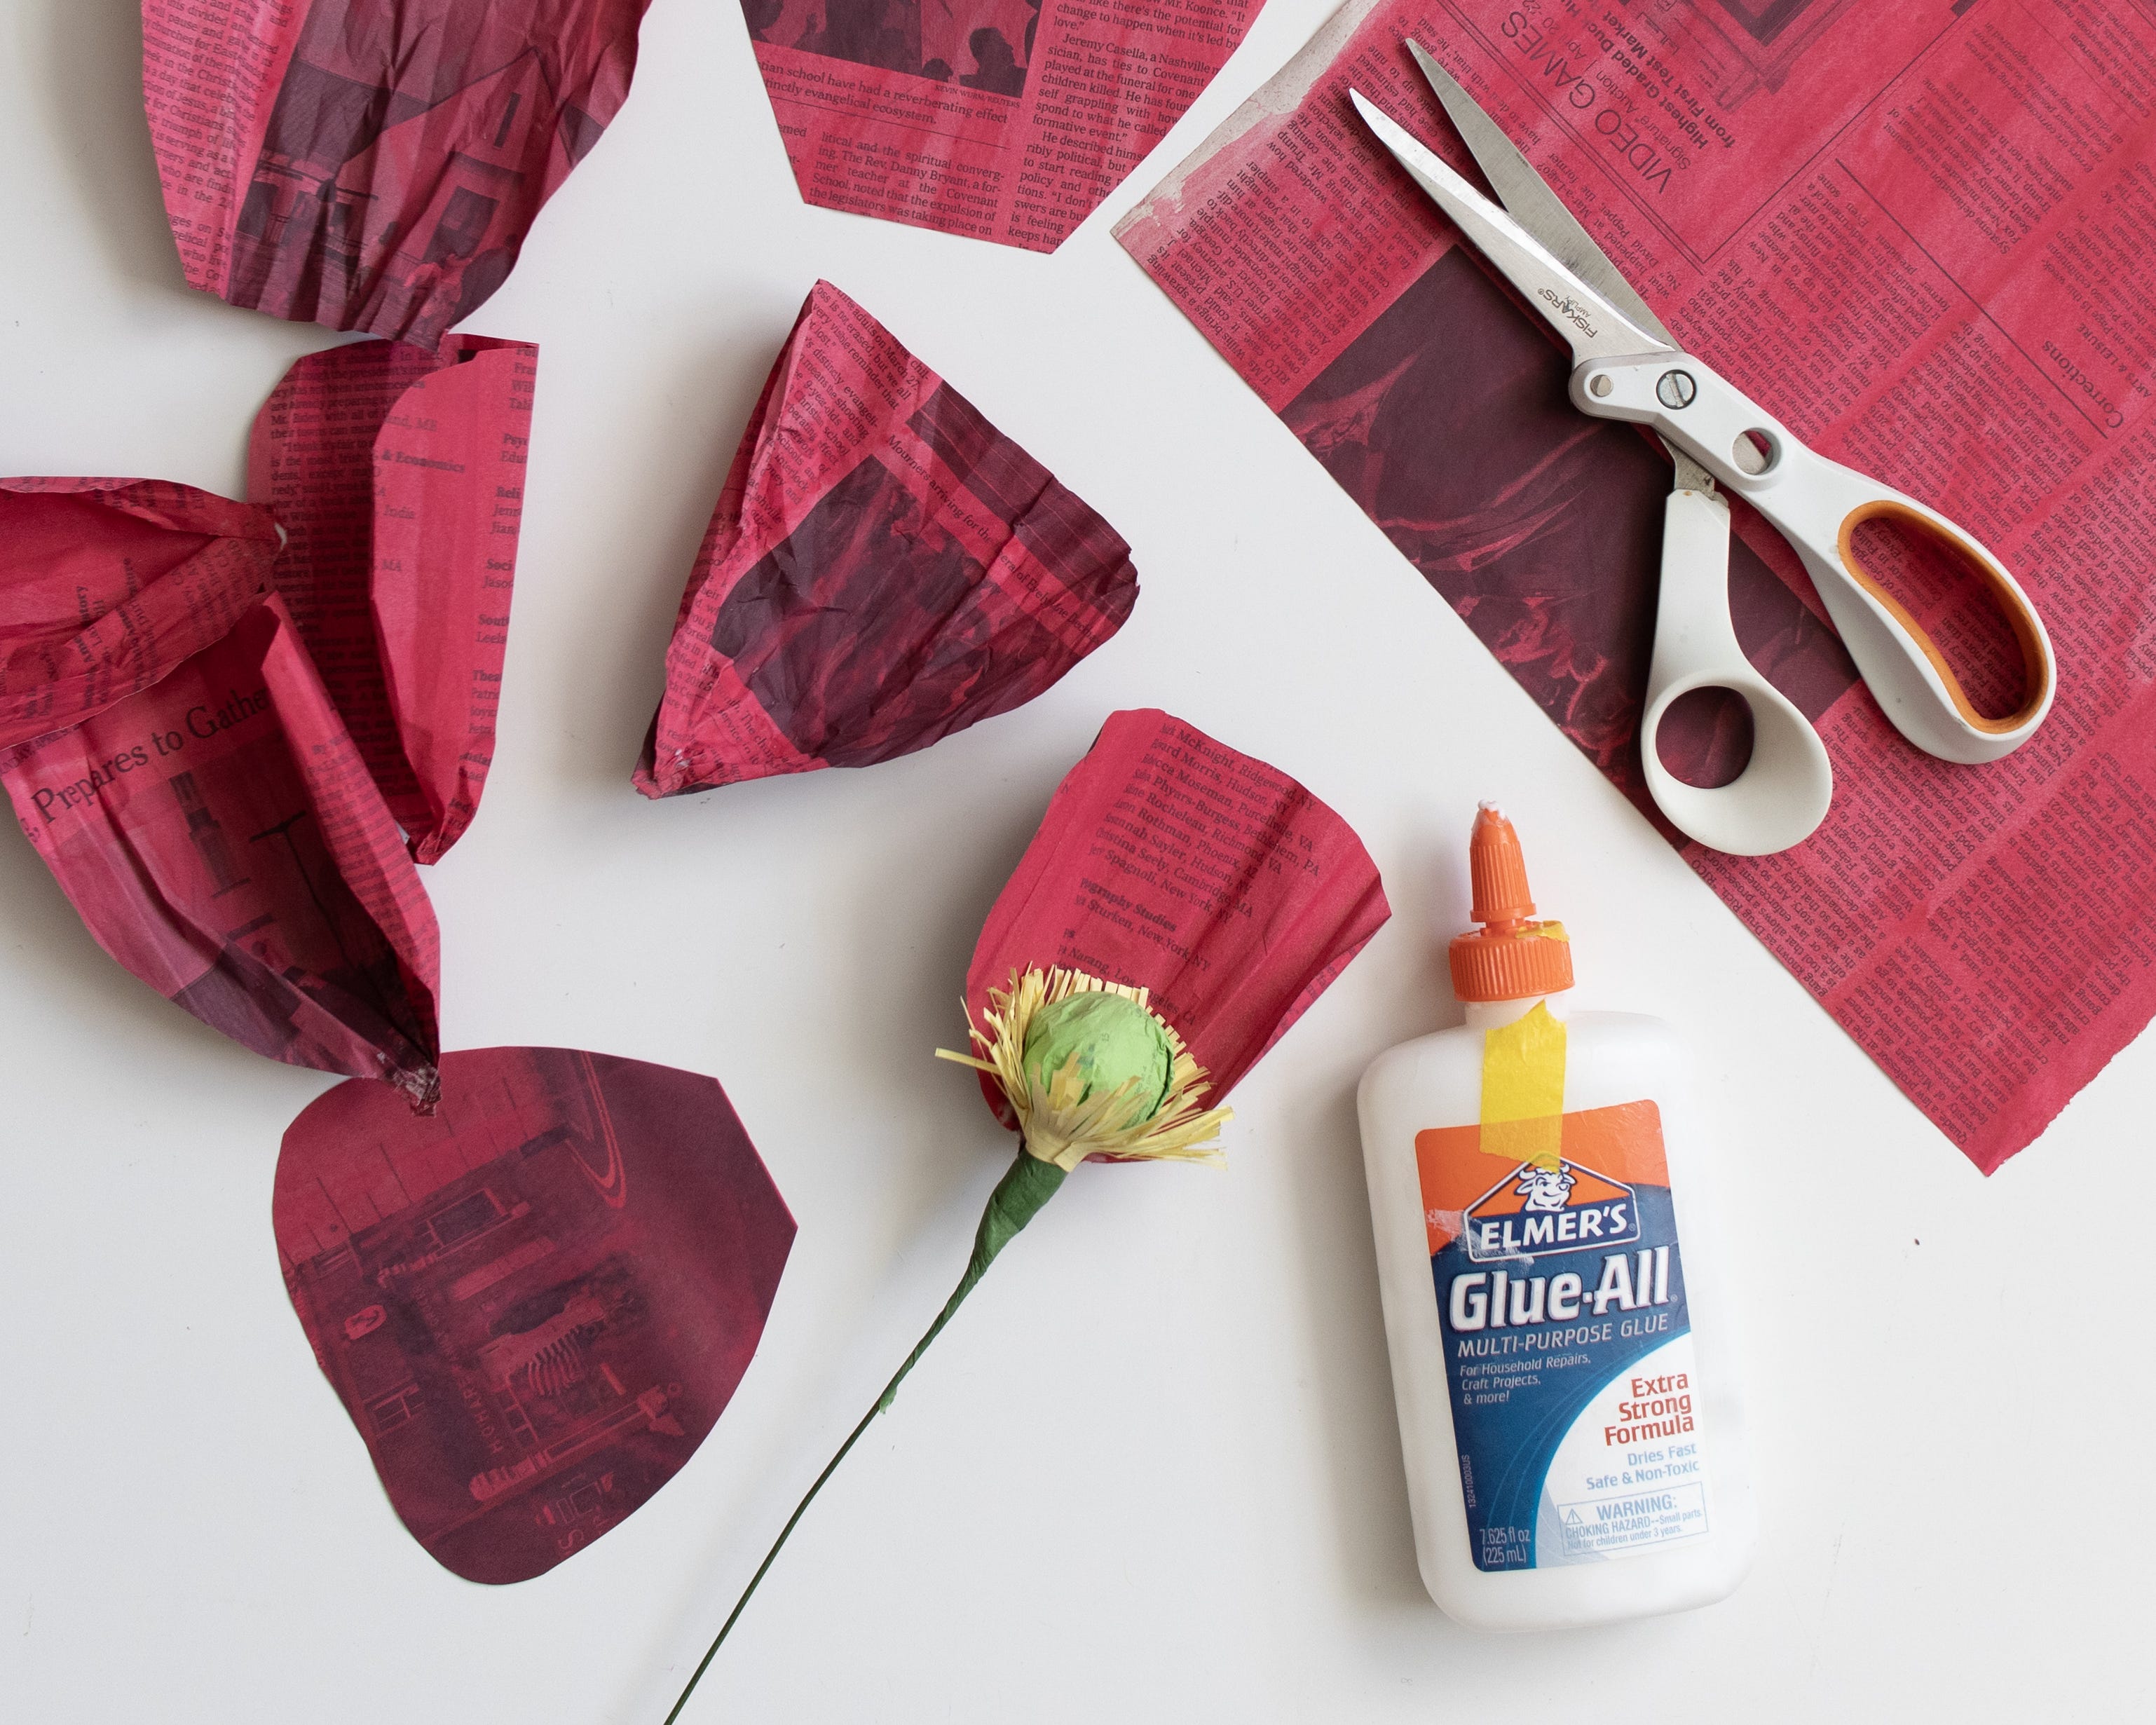
Cut 4-6 petals per flower, each about 4” x 5". They should be cut along the grain of the paper, with the petal aligned vertically as the paper is oriented. Place the petal on a smooth surface, then scrunch your fingers to pinch the petal, creating vertical creases or pleats. Glue the bottom part of the petal to the underside of the flower’s center. Repeat this process, slightly overlapping the petals until you have added 4-6.
STEP 5: Finish with Floral Tape
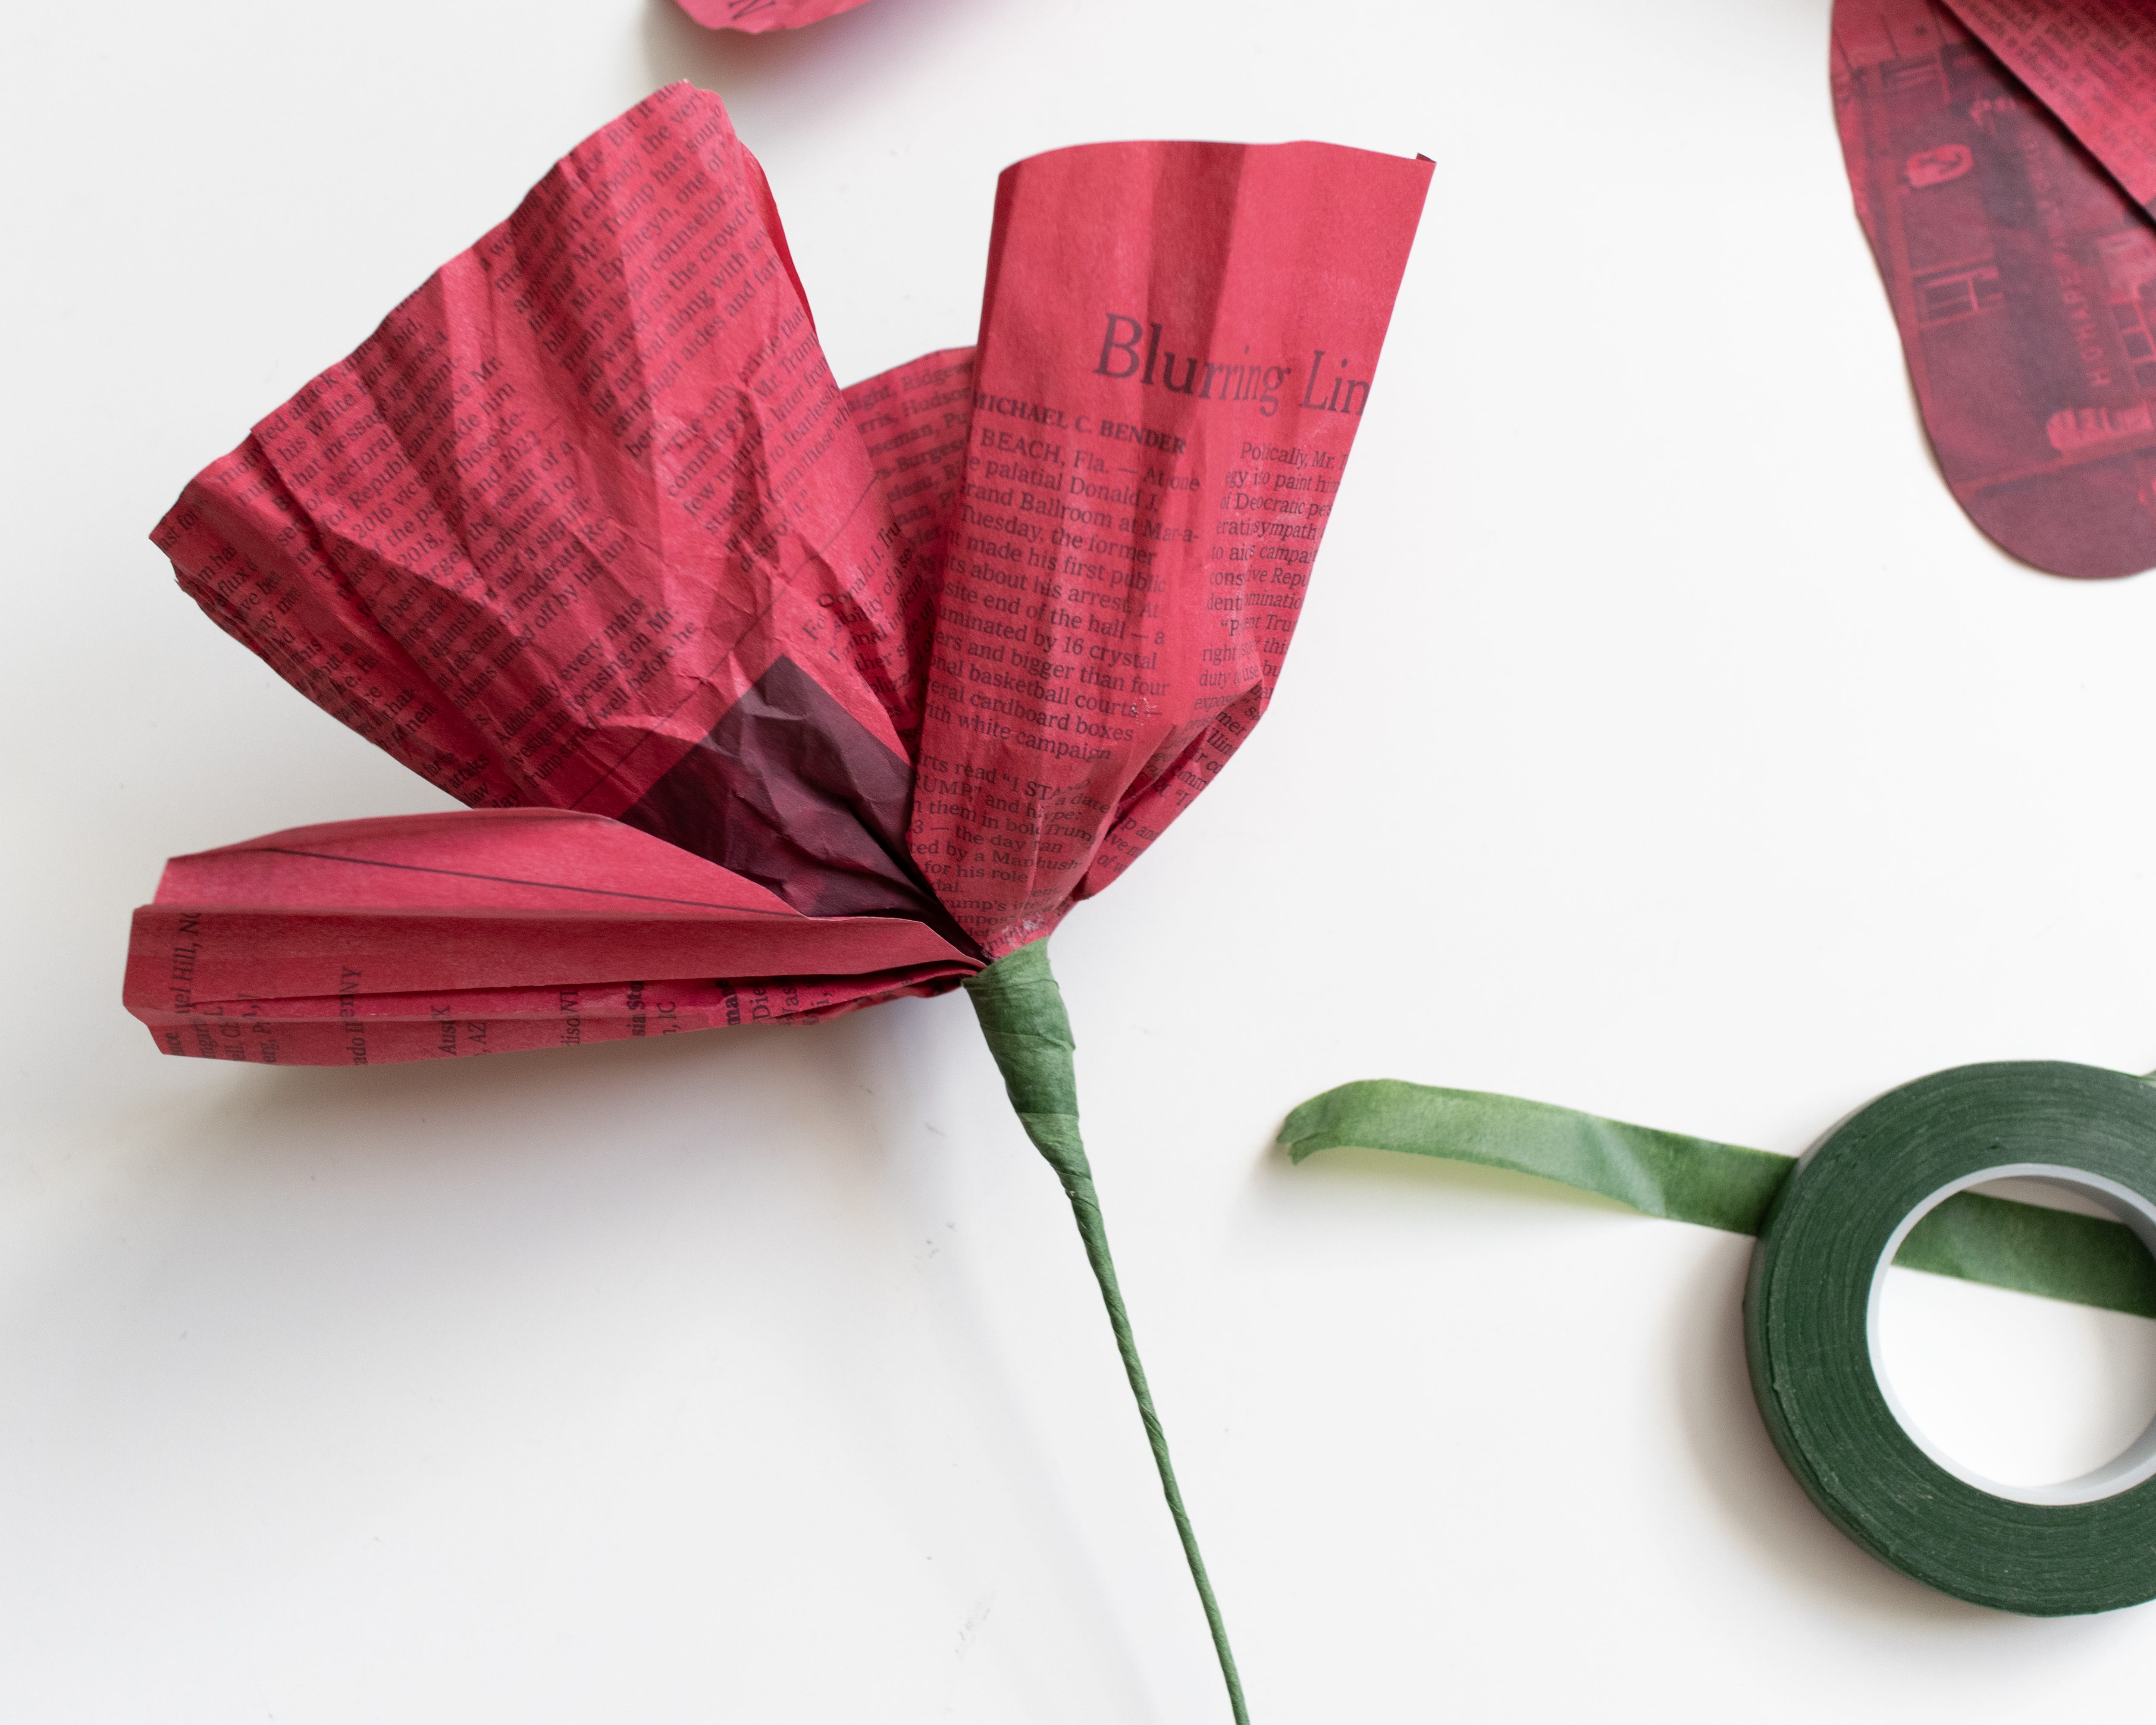
Cover the petals where they connect with a layer of floral tape. Note: If you’re new to floral tape, I have a YouTube video available, which provides more detail on this topic.
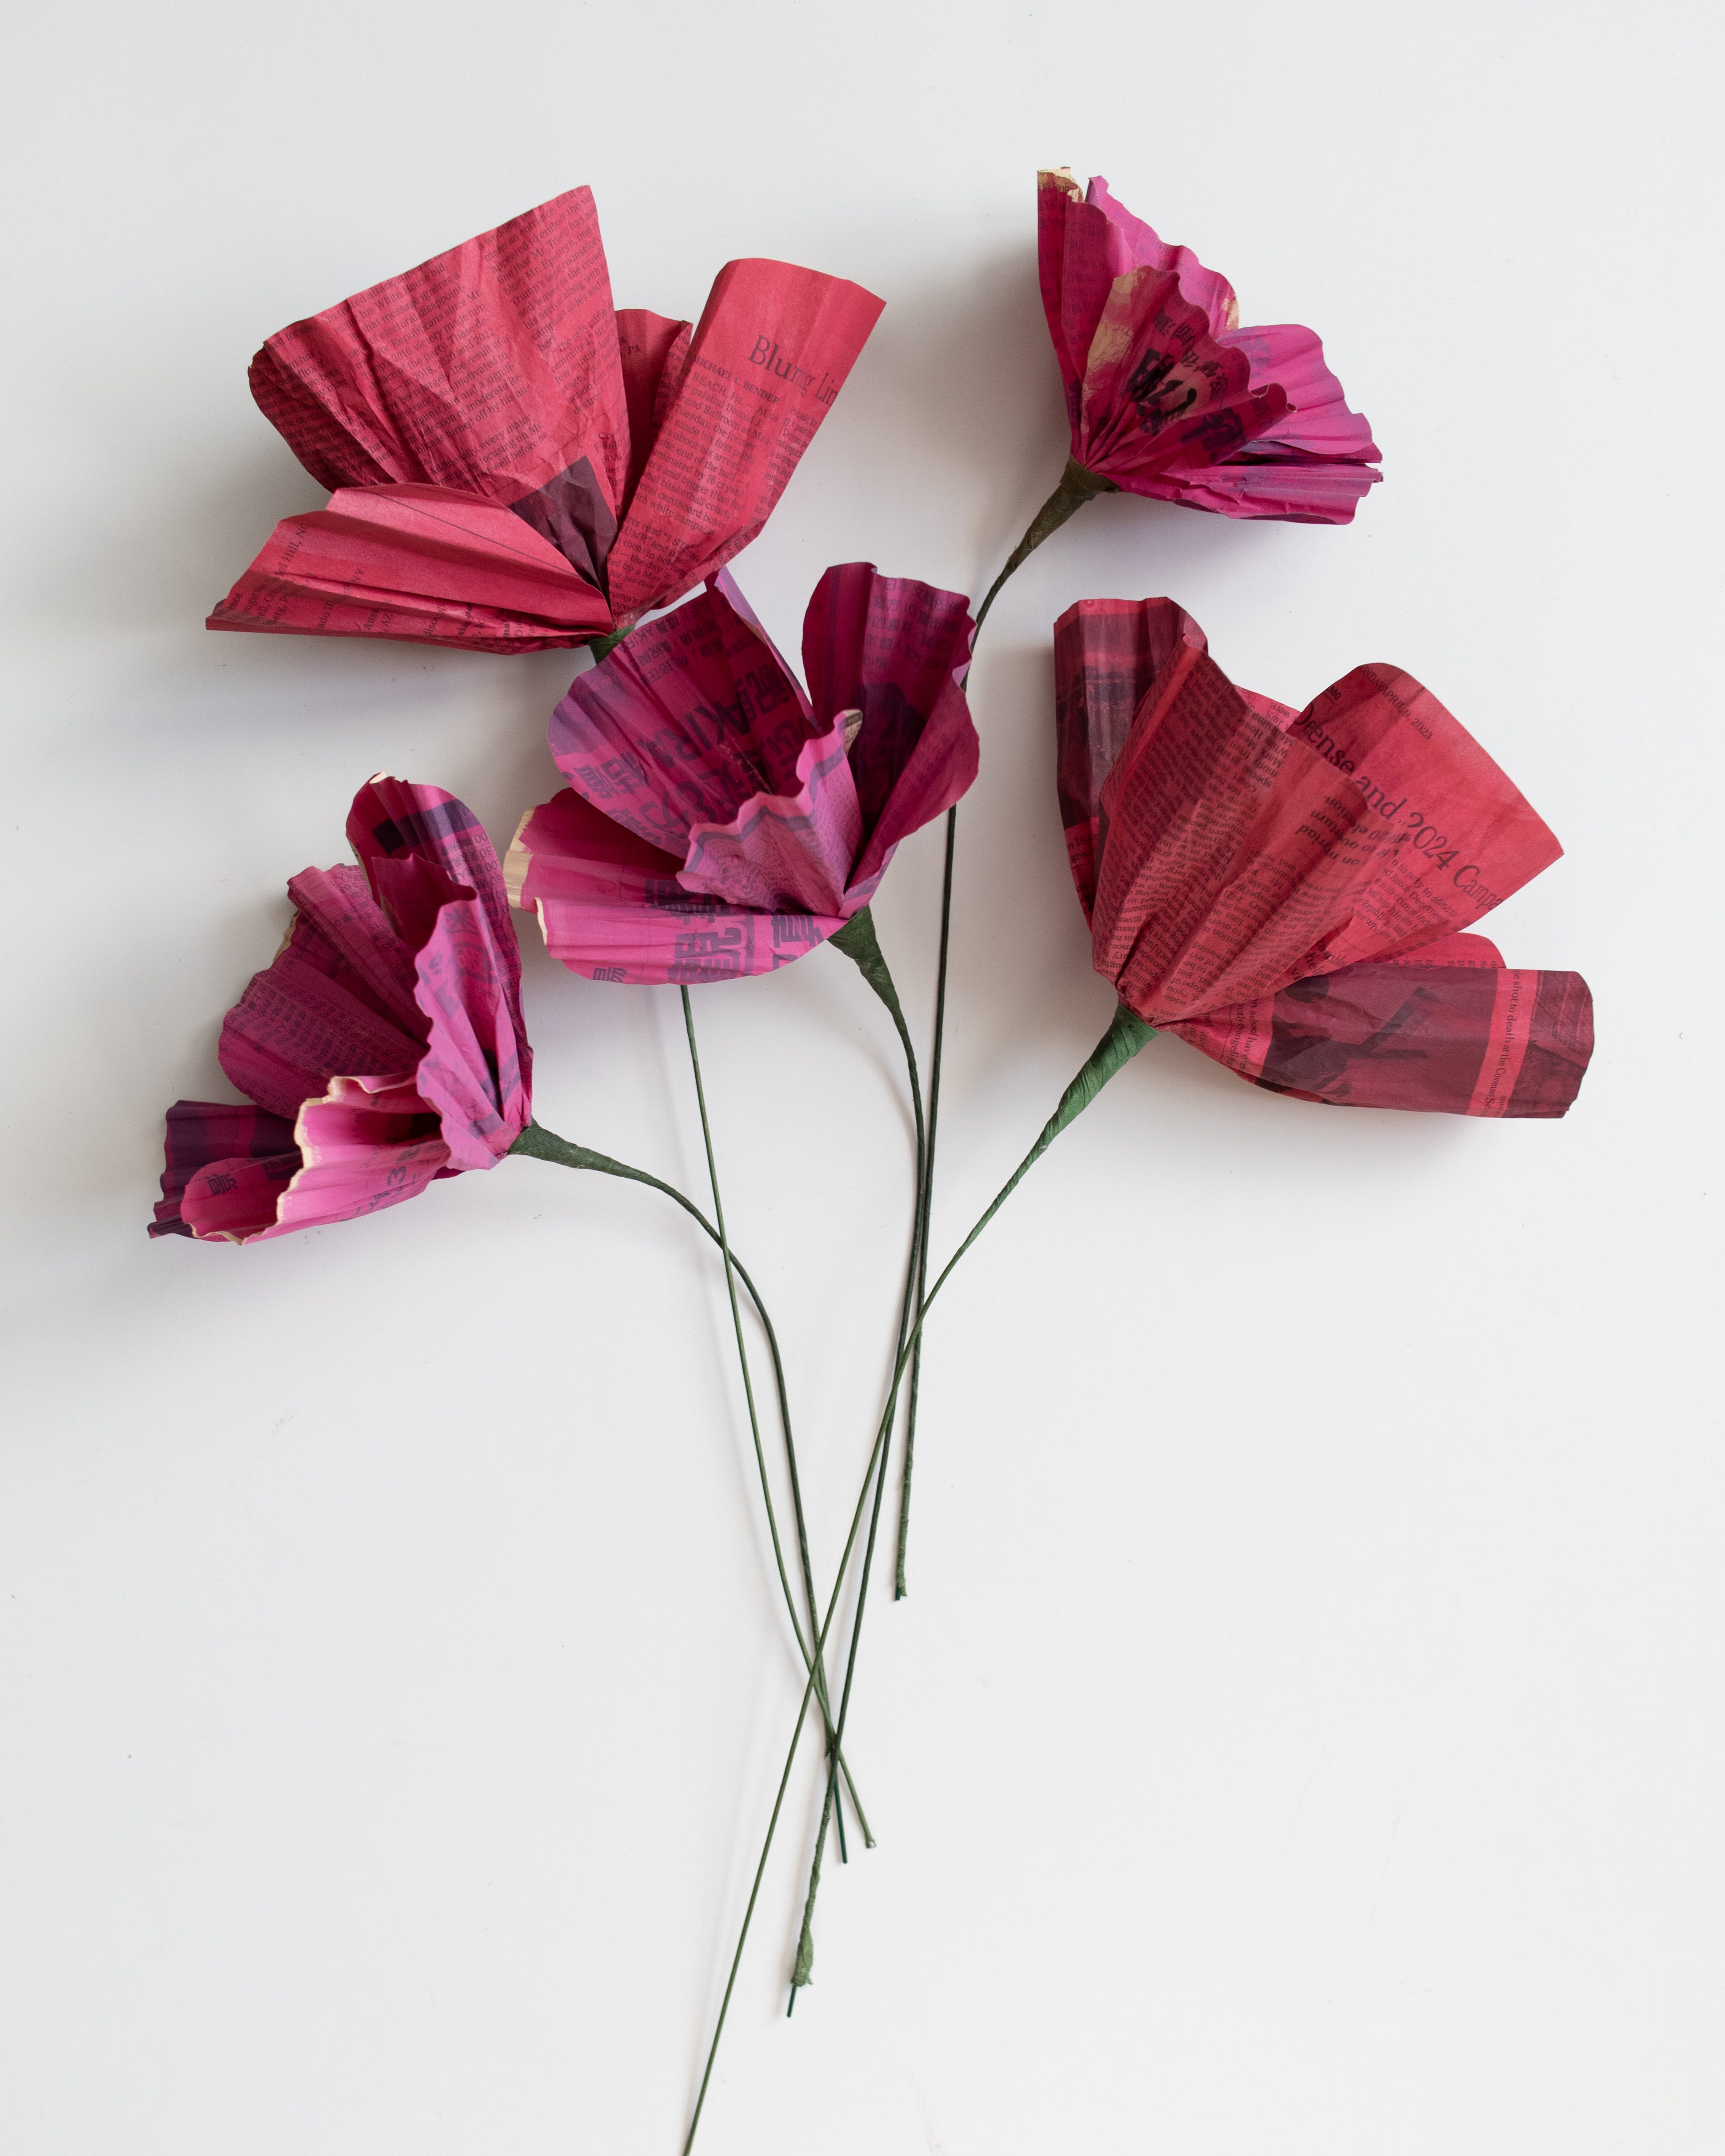
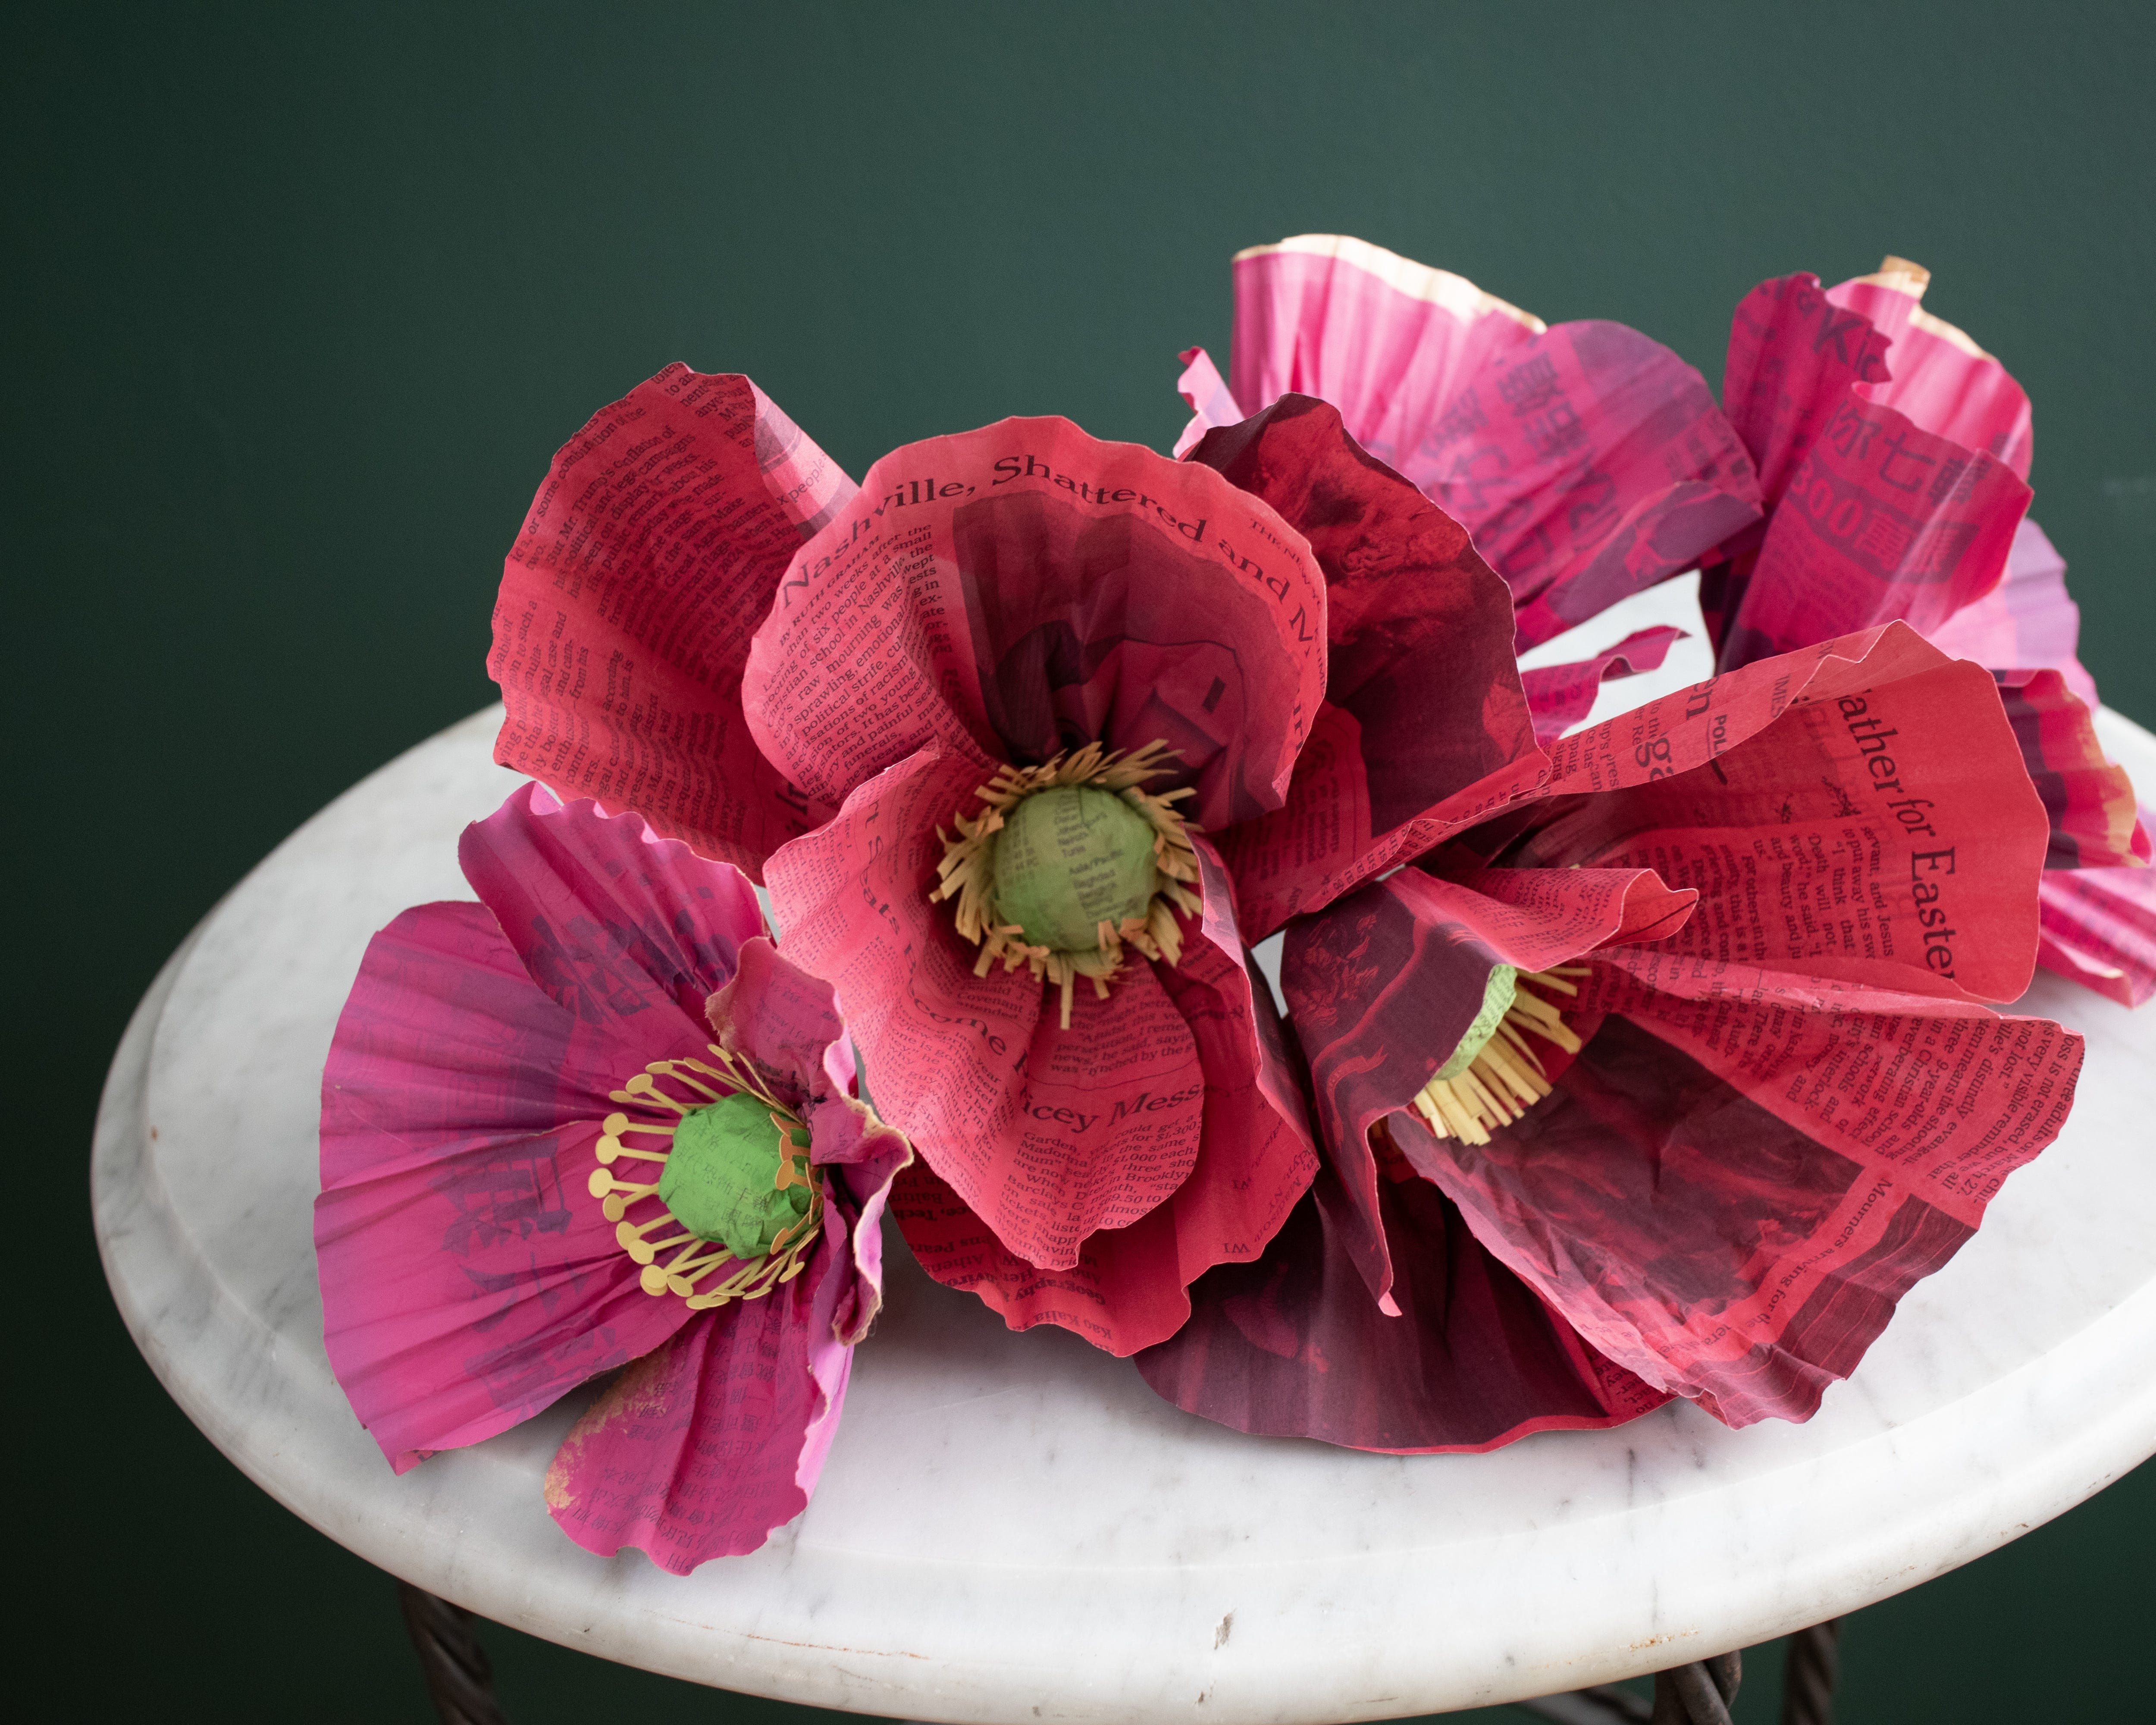
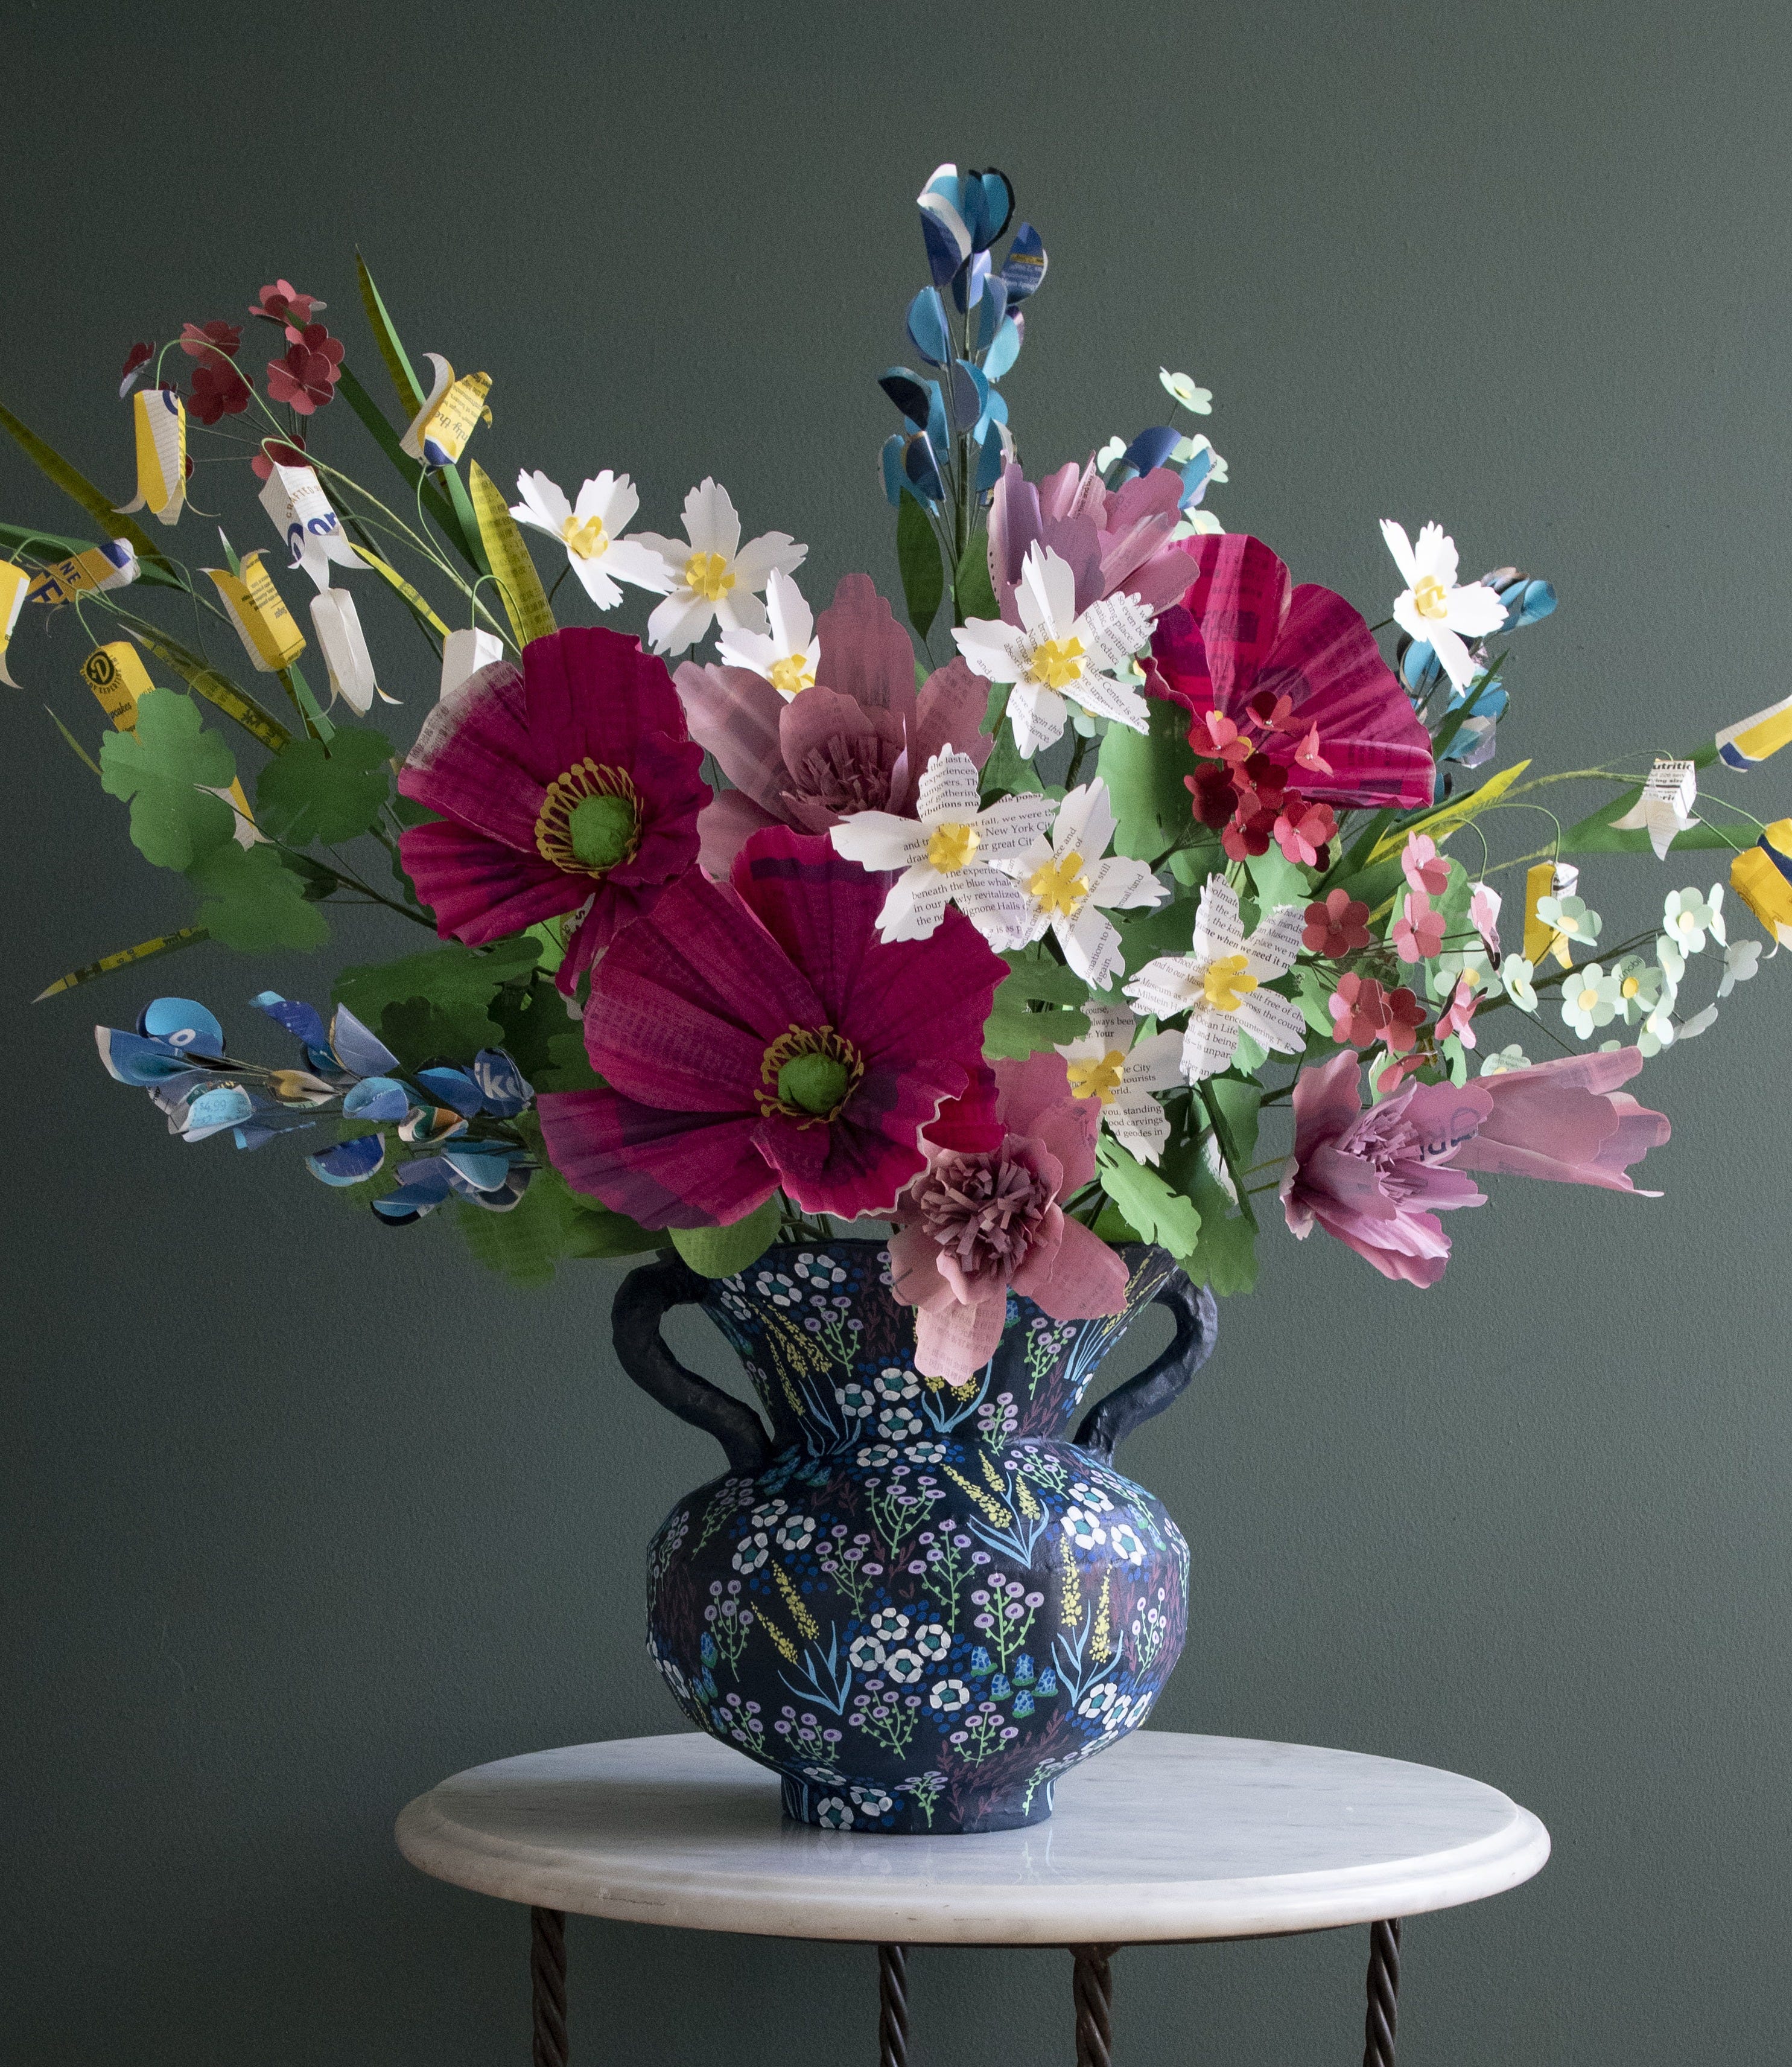
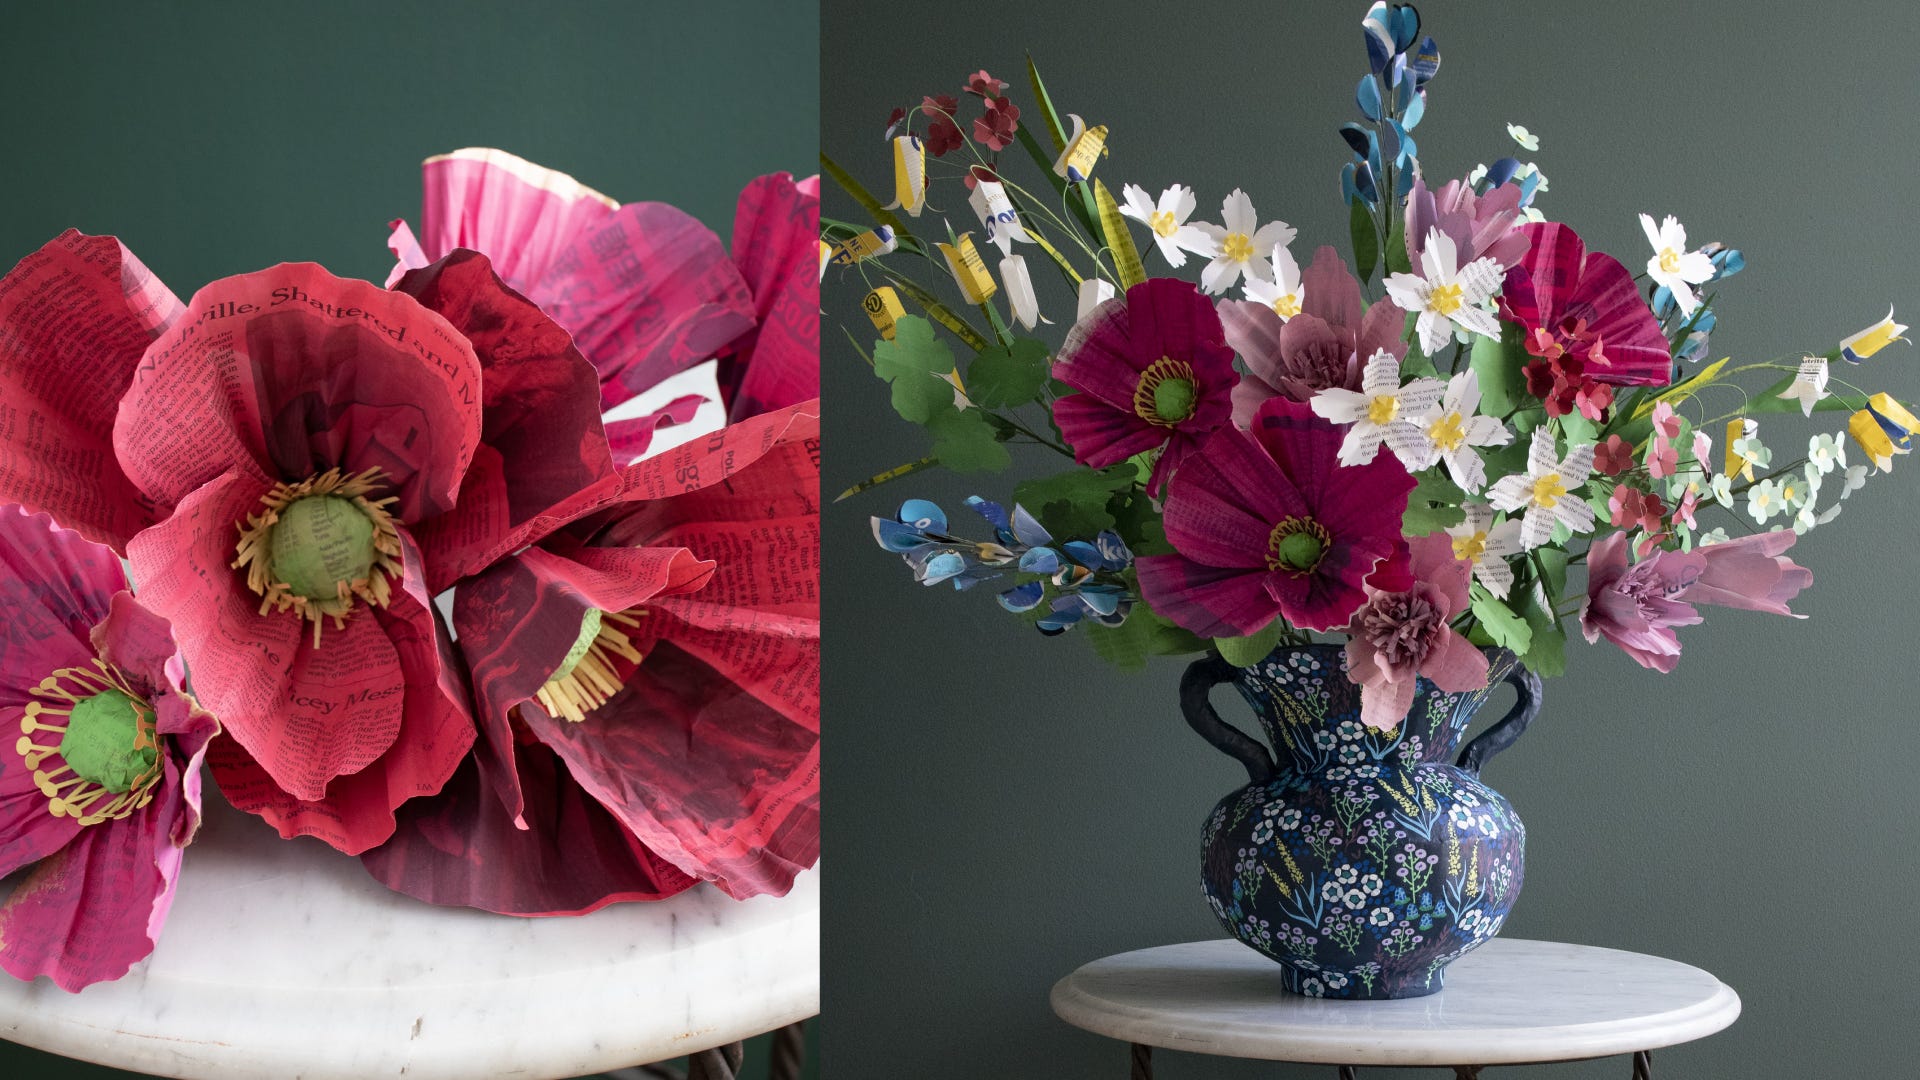
I added these to my mixed paper flower arrangement, so I didn’t bother with leaves! But, feel free to add some if you’d like! The keen-eyed among you will notice the different styles of yellow stamen I created. The more complex variety with the rounded shape at the tip of the fringe was cut with my Silhouette Cameo machine. But, I think the simple fringe works just as well!
Please let me know how it goes and if you have any questions. I can’t wait to see your poppies! Have a great week, all!
What an antidote to "I need to make and I don't know what."
Tosses every job and to-do item out the window and makes poppies! ❤️